
Quick Answer (Straight to the Point)
For welding 1/4” steel with MIG, your best starting settings are:
- Voltage: 20–23V (most machines)
- Wire Speed: 300–350 IPM (for .030″–.035″ wire)
- Amperage: ~180–220 amps (varies by machine)
- Wire Type: ER70S-6
- Gas: 75/25 (Argon/CO₂) at 20–25 CFH
- Technique: Push or slight weave
These settings get you strong penetration, clean beads, and minimal spatter.
Why 1/4” Steel Needs Hotter MIG Settings
1/4” steel is thick enough that you need high amperage and proper heat input.
Go too cold → your weld sits on top, no penetration.
Go too hot → burn-through or excessive spatter.
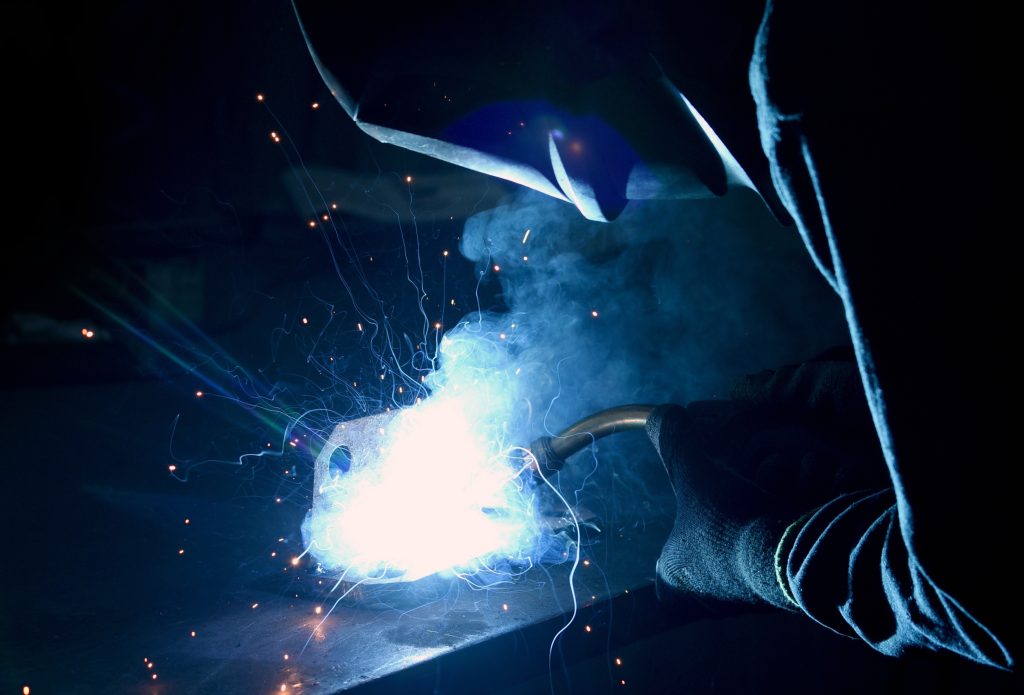
The goal is a smooth, bacon-sizzling arc with a bead that ties into the base metal on both sides.
Best MIG Settings for 1/4” Steel
Below are the recommended starting points depending on wire size.
Using .030” Wire
Good for hobby machines, but you’re pushing its limits on 1/4”.
- Voltage: 21–23V
- Wire Speed: 350–400 IPM
- Amps: ~180–200A
- Gas: 75/25 at 20–25 CFH
Notes:
- Great for short runs and tacks
- Not ideal for structural or long beads
- Multiple passes recommended (root + cap)
Using .035” Wire (Best All-Around Choice)
Most welders use .035 for 1/4″ steel.
- Voltage: 20–22.5V
- Wire Speed: 300–350 IPM
- Amps: ~180–220A
- Gas: 75/25 at 20–25 CFH
Notes:
- Strong, clean welds
- Good penetration
- Perfect balance of control + power
Using .045” Wire (Industrial Machines)
For heavy equipment and shop welders.
- Voltage: 23–26V
- Wire Speed: 330–380 IPM
- Amps: 220–260A
- Gas: 75/25 or 90/10 for spray transfer
Notes:
- Overkill for most home welders
- Works best with spray transfer mode
- Excellent for long seams and production work
Technique Tips for 1/4” Steel
1. Use a Push or Slight Weave
- Push = cleaner
- Slight weave = more heat spread
- Keep the weave small (no wider than 2–3 wire diameters)
2. Keep Stickout at 3/8”
Too long = weak arc and spatter
Too short = unstable arc
3. Maintain Consistent Travel Speed
Too slow = big, wide, hot bead
Too fast = skinny bead with poor penetration
4. Clean the Metal First
Grind off:
- Rust
- Paint
- Scale
- Oil
Clean metal = cleaner weld every time.
Step-by-Step Setup for Welding 1/4” Steel
Follow this simple checklist before striking an arc.
1. Select the Right Wire and Gas
- Wire: ER70S-6
- Size: .035” recommended
- Gas: 75/25 Argon/CO₂ at 20–25 CFH
2. Set Voltage and Wire Speed
Start with:
- 21–22.5V
- 300–350 IPM wire speed
Adjust while test welding:
- Too much spatter → lower wire speed or increase voltage
- Arc pulsing or popping → increase voltage or decrease stickout
3. Prep the Joint
For 1/4″ steel, bevels help if you need full penetration.
- Light 30° bevel if structural
- Leave a 1/16″–1/8″ gap for root pass
- Clean edges to shiny metal
4. Weld in the Right Position
For strongest results:
- Weld downhill only if tacking
- For full welds, go flat or horizontal
5. Test on Scrap First
Dial your settings on a test piece of the same thickness.
Common MIG Welding Mistakes on 1/4” Steel
Here are the big ones beginners struggle with:
1. Running Too Cold
Weak welds and tall beads.
Turn up the heat.
2. Too Much Stickout
Leads to popping and spatter.
Keep it around 3/8”.
3. Dirty Metal
Rust and paint disturb arc stability.
Grind it clean.
4. Too Fast Travel Speed
Creates a skinny, weak bead.
Slow down until the toes tie in smoothly.
5. Wrong Gas Flow
- Too low → porosity
- Too high → turbulence pulling air in
Stay in the 20–25 CFH zone.
Tools You’ll Need
- MIG welder rated for 200+ amps
- .035 or .045 wire (ER70S-6)
- 75/25 gas cylinder
- Angle grinder with flap disk
- Wire brush
- MIG pliers
- Welding table or clamps
- PPE (helmet, jacket, gloves)
FAQ: Best MIG Settings for 1/4” Steel
Can I MIG weld 1/4” steel with a 140A welder?
You can tack and stitch weld it, but you won’t get full penetration.
For real weld strength, you need a welder that pushes 180–200A+.
Is .030 wire good enough for 1/4″?
Yes, but barely.
Use multiple passes and run hot.
.035″ is better.
Do I need to bevel 1/4” steel?
If it’s structural, yes.
If it’s a simple bracket or non-critical weld, you can weld without a bevel.
What transfer mode should I use?
- Most home welders use short circuit
- Bigger welders can use spray transfer for cleaner, hotter welds
Why do I get porosity on 1/4” steel?
Common causes:
- Low gas flow
- Dirty metal
- Draft/wind
- Too long stickout
Bottom Line
For 1/4” steel, your best MIG settings are:
- Voltage: 20–23V
- Wire Speed: 300–350 IPM (.035 wire)
- Gas: 75/25 at 20–25 CFH
- Amps: ~180–220A
Run it hot, clean your metal, and keep a steady push angle, and your welds will look clean and penetrate deep.
If you want, I can also give you exact settings for YOUR specific welder model — just tell me the machine and wire size you’re using.